Adding scrap book paper to a block may seem like a pretty basic craft concept, but it is one of the number one questions I get in my emails. Hopefully this tutorial will help you avoid bubbles, wrinkles and create a great boutique look at a fraction of the price. The number one piece of advice I can give you is to use nicer quality paper that has the feel of card stock. Most newer papers are already this thick, but some older papers are not. Thin, cheap paper tears easily, gets wrinkles and bubbles and just isn't worth the hassle.
Step 1. Paint the blocks. Because you will be adding scrapbook paper you don’t need to go all the way to the center.
Step 2. Sand and stain the blocks. I am always amazed at what a big difference this step makes.
Step 3. choose your scrap book paper. I like to lay out the patterns in order to get a feel for the final projects
Step 4. Because all of our wood is cut by hand sometimes the measurements are slightly off. I happen to be a bit of a perfectionist, so instead of cutting all of the paper a standard one size fits all, I actually cut the paper to fit the actual block I am working with. To do this I lay the paper on top of the block and make a tiny tear exactly where I want to cut the paper. (you could also mark it with a pencil.)
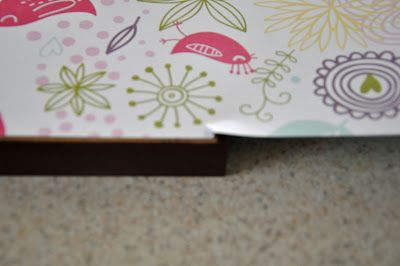
There really are TWO different looks I use when applying scrap book paper to the block. In the first look I cut the paper slightly smaller than the block so that a little bit of the painted block shows around the paper. What this does is creates a small matte or framed look around the paper. This is the method I used for the Spring blocks in the picture shown at the start of the post.
To achieve the second look I take the paper right to the edge of the block, or even slightly bigger. Than after I have adhered the paper I take sand paper and sand any excess paper off by rubbing the edges of the block with the sand paper. This “sands” off the paper to make it an exact fit to the block AND antiques the paper at the same time. Make sure you use a high grade sand paper such as 120 or even 200, a low grade sand paper will tear the scrap book paper to bits.
Step 5. Ink the edges of the paper. If desired. I don’t always do this step, because sometime I sand the paper with a low grade sand paper instead. If you are doing this method instead I find that it is actually easier to sand the paper down once it is glued to the block. Just make sure you wait until the glue is completely dry.
Step 6. Adhere the paper. The biggest mistake people make here is they use too much glue. the key it to use enough to glue the paper firmly, but not so much that you create bubbles or wrinkles. Make sure the glue covers the entire block and is spread on evenly. To glue the paper I use or print mounting glue, and a foam brush.
Step 7- Smooth out the paper. Using a squeegee work out all of the air under the paper by starting in the middle and quickly but firmly sliding the squeegee across the paper in several different directions. Make sure to keep your squeegee clean and to wipe off any excess glue.
Step. 8 Apply vinyl. The only trick here is to make sure that the glue is completely dry. If it is wet the application tape can stick to the paper and tear it. So sad when this happens and you are so close to being done.
Step. 9 Display and ENJOY!


No comments:
Post a Comment