


.JPG)
- Christmas Tree kit
- Decorative papers
- Distress ink
- Paints
- Embellishments (snowflakes, bakers twine)
- Paper Distresser
Note about the kit: For those of you ordering online, let me just say that this kit came packaged securely and arrived quickly! The kit includes the mdf wood pieces you will need plus a vinyl decal of the star that you see at the top of the tree, as well as the phrase "We wish you a Merry Christmas"


Two: Paint two of the boards in metallic gold (whichever two will be the background for the Christmas saying). I painted the metallic gold full coverage in the middle, and fanned it out to fade into the brown color on each end of the wood. Let dry.

Three: Using the gold metallic paint again, apply it to the Christmas tree base around the edges and sides for interest. Four: Choose decorative papers to match your holiday decor or your home's decor and cut to size. Five: Distress the edges of each paper with a paper distressing tool or an emery board. Six: Ink the edges of the papers with Distress Ink or a brown marker.

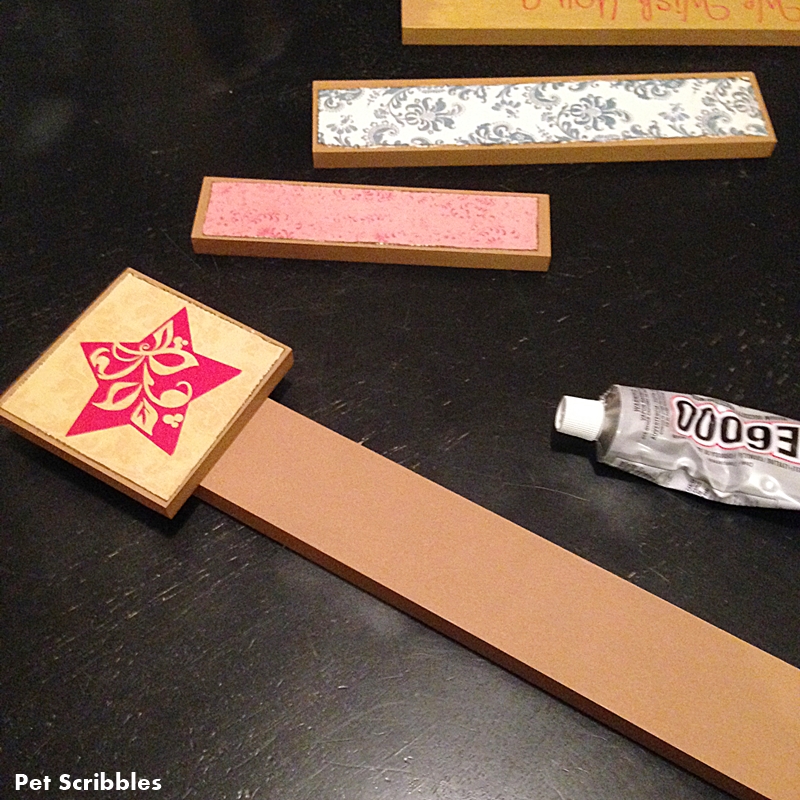
Seven: Mod Podge the papers to the wood. Let dry. Eight: Attach the vinyl decals to the wood pieces. Work slowly as you peel off the protective layer and press down the vinyl. (And try to contain your excitement with how awesome it's going to look!)

Nine: Using some red paint, distress the edges of the boards, and also very lightly distress the front of the papers in a few spots too. Let dry.

Ten: Paint some dollar store snowflakes with the metallic gold paint. Let dry.

Eleven: To attach the wood pieces to the stem, I used E6000 adhesive. It is super strong and holds the boards well. However, here's a few notes for you:
- make sure you use this in a ventilated room
- make sure you hold each board in place for a few minutes so they don't slide around
- make sure you let this dry horizontally for at least 12 hours
Twelve: Assemble the tree into the base. Hang the snowflakes from the tree. Add bakers twine as a garland. Wrap the base in a sweet crocheted scarf! Ta da! Or should I say, Fa la la la la!
.JPG)


.JPG)
There are so many ways you can personalize this tree to make it your own. With paints and/or decorative papers, you can create a one-of-a-kind tree that will match with your decor perfectly! And these make great gifts too! I mentioned that they're 30% off this week, right? I mean...that's a steal, people! For more fun (and easy!) Christmas craft ideas, you can visit my blog! I'll be back here next month to share another fun craft with you! In the meantime... Merry Christmas! Happy holiday crafting! ~Laura
This was such a fun project to make, Holly! Thanks for having me guest post!
ReplyDelete