


Brooke's post could not come at a better time! Right now we are working on listing the Dry Erase Calendars on the website for you to purchase! (Without having to attend a class.) We have had so many requests from you out of state ladies that we decided to just give the people what they want! Everything should be up and ready by this weekend. In the meantime hope you enjoy Brooke's darling ideas.

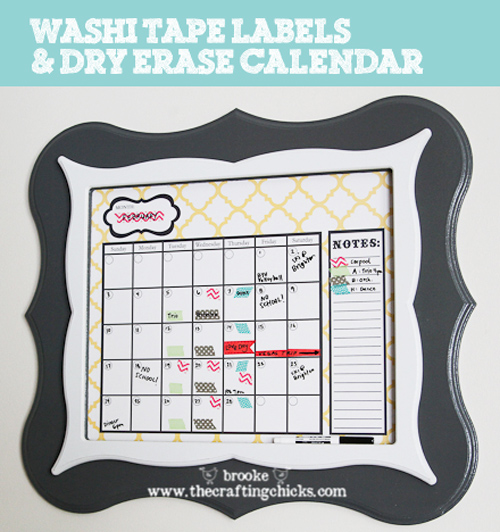
Hi I'm Brooke and I'm one of The Crafting Chicks! I'm happy to be guest posting here today. I'm sharing a really easy way to customize your calendars (specifically the awesome dry erase calendars at Poppy Seed Projects) with one of my favorite craft supplies---washi tape!
For this project you need:
- Poppy Seed Projects calendar supplies (I used the Lemon Quatrefoil calendar with the Eleanor frame, Brooklyn trim, & I also got the magnetic backing)
- Sand paper
- Paint (I used spray paint)
- Dry erase marker
- Black Sharpie permanent marker
- variety of Washi Tape--it's a thin, sort of papery non-permanent crafting tape that comes in a ton of different colors and patterns
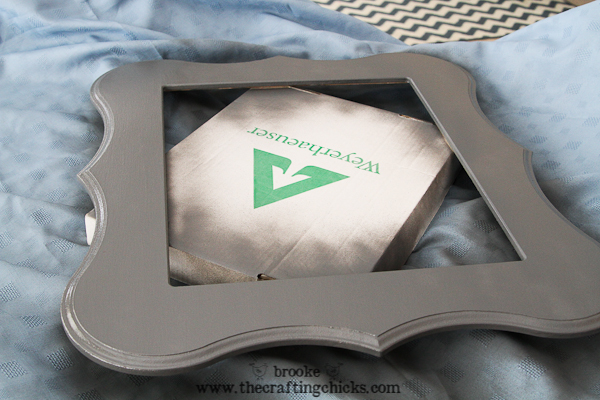 First off, sand your unfinished frame and trim, wipe off any dust and then paint it whatever colors you want. I chose a glossy spray paint for the frame (Rustoleum Glossy Dark Gray) and I painted the trim with a satin white spray paint from Rustoleum.
 Use
Usewood glue to attach the white trim piece to the gray frame and let it sit for 24 hours. Insert your dry erase calendar print and write in the dates with your dry erase marker.
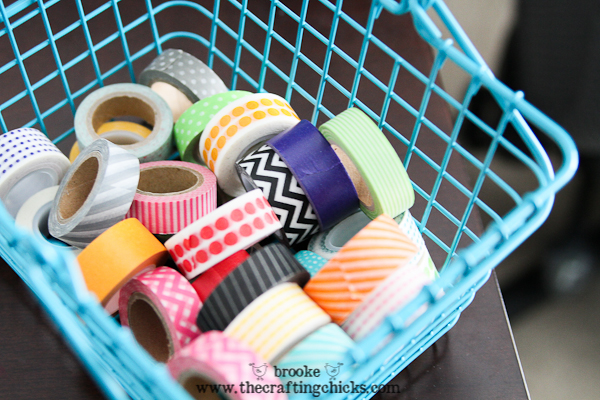
Now for the fun part! :) I have a growing collection of washi tape in happy colors and patterns that make perfect little customizable labels for your calendar! I've gotten my stash at lots of different places, like Pick Your Plum, Target and Michaels. I love it because it's easy to stick on, easy to peel off, and it doesn't leave a sticky residue.
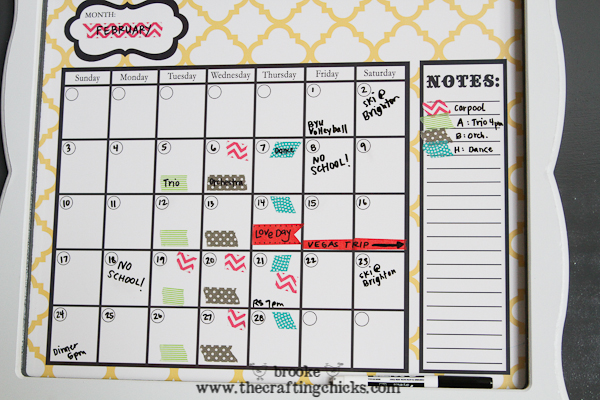
You can either tear or cut the washi tape with scissors. For this Valentine's Day label I added a little bit of flair with the notch cut out of one side of the tape. Then you can write with a Sharpie on top of the tape label and decorate it however you want. It makes certain days (like holidays or birthdays or events) really stand out on your calendar. And it is easily removable. (Make sure you don't write on the calendar itself with Sharpie!!!) I double checked to make sure the Sharpie wasn't bleeding through the washi tape and ruining my dry erase calendar. It worked just fine.
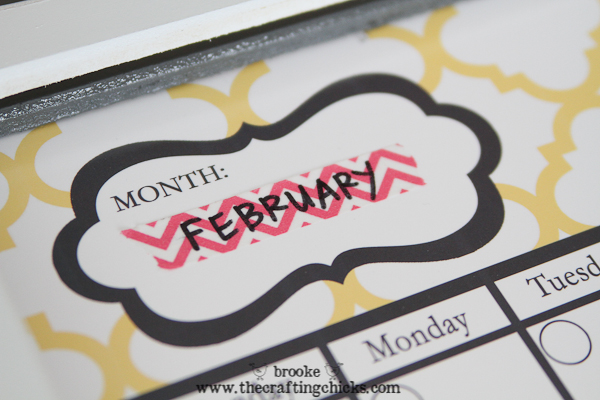 It's a fun way to make the different months pop!

You can organize and use the labels however you want. For our calendar, I used different colors/patterns for different events we have happening this month, such as dance, orchestra, etc. I even made a little "code" in the notes section to remind us what the labels stand for. For the repeating weekly events it was nice to just stick that particular piece of tape on that day instead of rewriting it each week. It works for me!
 Once
Onceyou have your dates and labels on the calendar, hang that cute thing on the wall! It's so colorful and customized, and I can use completely different colors next month. I love it! :) Feel free to pop on over to The Crafting Chicks for lots of creative ideas, recipes, tutorials, and more! We love to make new friends. :) Thanks to Poppy Seed Projects for inviting me to guest post today! *******************
I love this! I just ordered a bunch of washi tape from PYP yesterday...totally going to use it on my calendar!!!
ReplyDeleteSame here Jessica! I read through Brooke's post, and read the email from PYP a couple of minutes later and thought SCORE. You will have to send pictures of how it turns out. (hollym@poppyseedprojects.com)
ReplyDeleteAnother great use of washi tape...one of my favorite things! Love it!!
ReplyDeleteHow cute. I just came across this from a google search and while looking at it realized you have the same name as my 14 year old daughter Holly Marie
ReplyDeleteI have got the superb information from these blogs finally. ReMARKable whiteboard paint
ReplyDelete